(Updated for 2020 and Windows 10, Version 1909)
One of the biggest pain in the ass chores for many home computer users is performing a fresh install of Microsoft Windows. Unfortunately, as the years have passed, Microsoft has not made the process any easier for power users that want a truly clean install, without all the bloatware. What follows is the method I use if building my own custom desktop PC.
(Many readers will chime in to mention the many methods that Microsoft offers for a migrating from an earlier Windows version (along with bringing all your files and folders over) but those methods, for a variety of reasons that would take too long to go into here, do not lay down a ‘clean’ install.)
(For this process, you will need two USB 3.0 Gen 2 thumb drives. One for the Windows ISO image and one for the all driver downloads.)
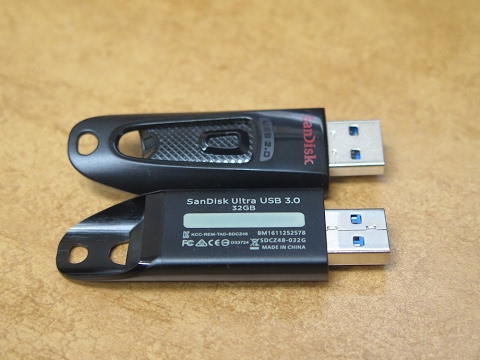
Get the latest Windows 10 ISO image and install it to a fast USB 3.0 Generation 2 thumb drive with the Windows Media Creation Tool found here:
https://www.microsoft.com/en-gb/software-download/windows10
(The Media Creation Tool will download the latest ISO image which means you do a great deal less patching through Windows Update once you install it to disk. If you can, plug this into a USB 3.0 Gen 2 port on the front panel of your computer.)
Before beginning Windows 10 install, update the Firmware of your router and make sure NAT firewall is enabled, along with any built-in software/hardware firewalls. You will need these firewalls later when you first connect your pre-1803 patch Windows 10 install to the internet to update it.
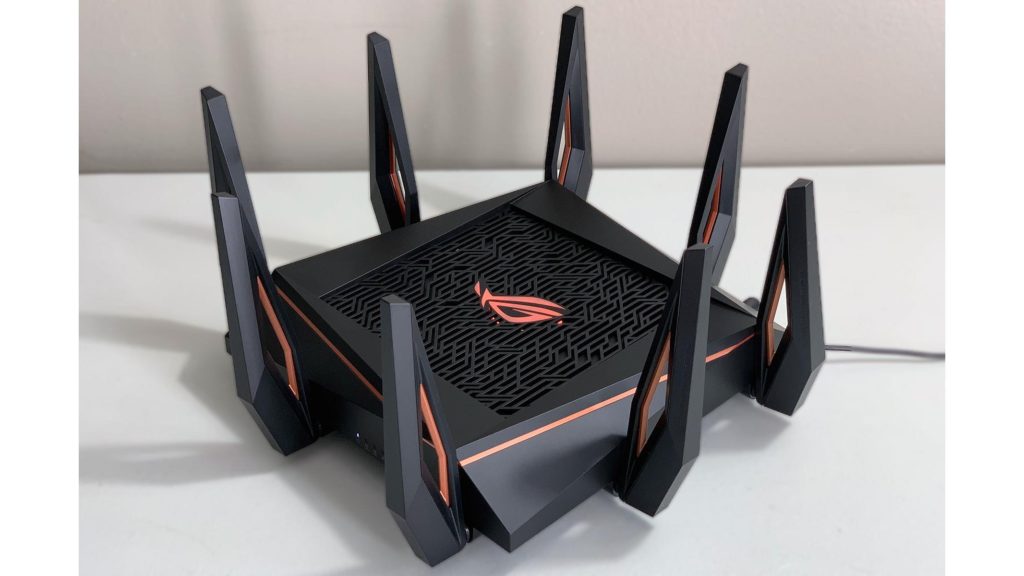
along with its firewalls setup properly.
Hit the Delete or F2 key to bring up the BIOS for your motherboard and then update it to the latest version.
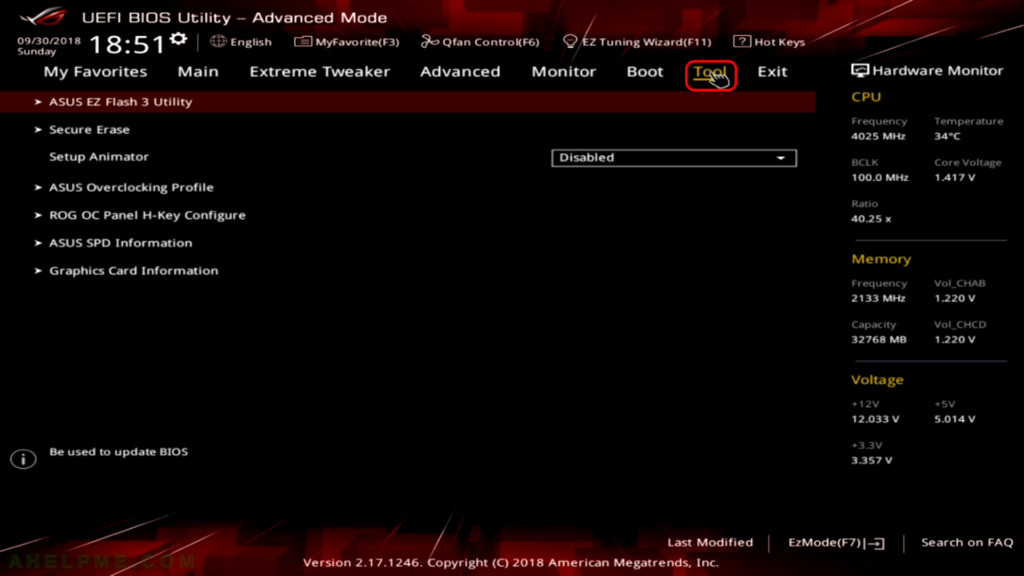
the motherboard’s BIOS to the latest version.
If you intend to use RAID, grab the appropriate (floppy) driver for it and load it to a 2nd thumb drive by itself (Windows will not see it if it is in in a folder).
When you first begin to install Windows 10, you want your graphics card installed, but your sound card, any PCIe cards, any PCIe USB cards and any wireless antennae uninstalled. You also want all SATA devices unplugged (except for your main C drive if it is a SATA drive). I highly recommend you install Windows 10 to a single NVMe Form 2280 SSD, like the Samsung 970 Evo Plus of 500 GB or greater size. You also want any USB devices that plug into the back of your motherboard to be uninstalled except for the mouse and keyboard. The reason for this is that Microsoft believes you cannot install your hardware drivers correctly and will install drivers for every PCIe card (like a sound card), every USB device and every external backup drive against your will. This will sometimes result in your hardware having generic or incorrect drivers.
______________________________________________________________________________
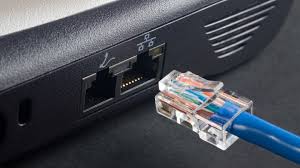
Make sure the ethernet cable is disconnected!
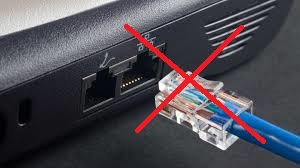
before beginning the install process.
______________________________________________________________________________
Setup your BIOS with care. Do not overclock anything or begin with a fast bootup. Turn off integrated graphics if you are using a discrete graphics card. Turn off integrated sound if you are using a sound card. Go over every single option of the BIOS and make sure everything is correct so that Windows 10, for example, does not grab some integrated graphics driver that potentially interferes with your discrete graphics card.
In the BIOS, set your thumb drive to boot first and start up the Windows 10 install process.
Install the RAID (floppy) driver if you intend to use a RAID array. (The only RAID I would recommend in 2020 is a RAID 1 array with two identical NVMe drivers.)
Go ahead with the Windows install and wait until the process finishes. (Do not connect to the internet yet.)
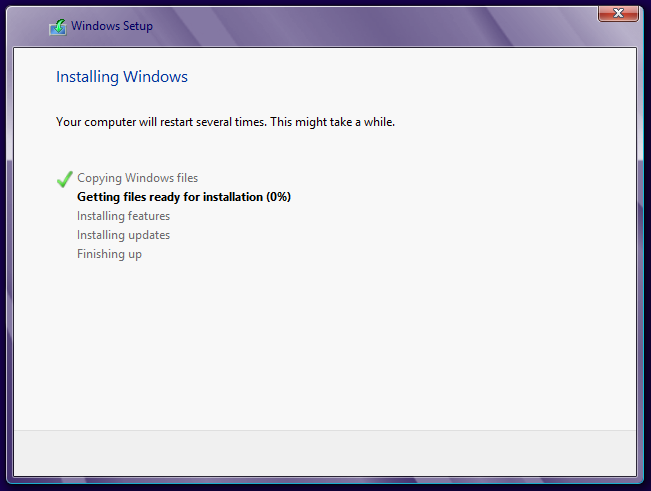
to over an hour depending upon your system specs.
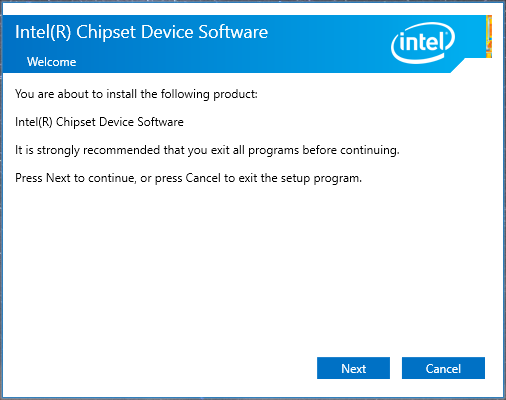
Install the appropriate basic core hardware drivers in this order:
(Reboot after each and every single one. You will need to go online and look up all the core drivers for your particular motherboard and have them loaded on your second thumb drive.)
Chipset Driver (Inf file)
Intel Management Engine Interface
Serial Input/Output
Intel Rapid Storage Technology
NVMe SSD driver
LAN Driver
Wireless Driver (if your motherboard has wireless capabilities)
Bluetooth Driver (if your motherboard has Bluetooth capabilities)
features on your motherboard.
Now, install the latest Standard driver for your particular graphics card. (If you do not know the difference between DCH and Standard drivers, google it and read up.)
Go to Control Panel → System → System Protection → Hardware → Device Installation Settings → Choose “No” to allowing automatic hardware driver downloads.
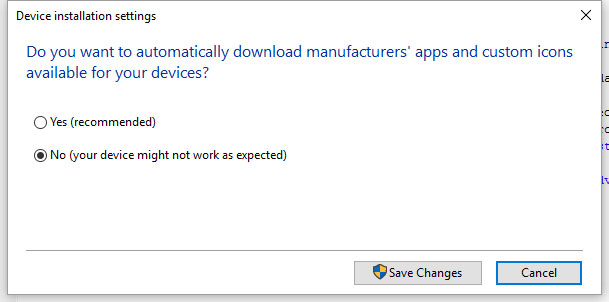
upon your system.
By installing every single motherboard driver on our own along with the graphics card driver, we are making sure that the Windows Update process does not incorrectly grab a generic Serial GPIO, SMBus, etc … driver that will actually provide subpar performance for the controllers on your particular motherboard.
______________________________________________________________________________
Attach your ethernet cable
(… while sacrificing a lamb on an alter with a pure silver dagger, and while incanting all the known computer gods of the outer planes.)
______________________________________________________________________________
Go to Start → Settings → Update and Security → Windows Update and fully update Windows to the latest edition. Depending upon if you grabbed the latest ISO image above, this can take quite awhile. It is not uncommon for your rig to reboot multiple times. You need to keep checking Windows Update until it says, “You’re up to date.”, … and then reboot and check it again 🙂
Go to Control Panel again → System → System Protection → Hardware → Device Installation Settings → Choose “No” to allowing automatic hardware driver downloads. This process needs to be repeated because patch 1903 re-enables this setting.
Install your preferred web browser from your 2nd thumb drive and from its settings, configure it correctly to not spy on you and send your search history to God knows who.
Install any Windows Mixed Reality headsets by plugging them in and following the prompts.
Install any Oculus VR headset next by using a copy on your 2nd thumb drive of the shit ass Oculus installer.
Do not install a Valve VR headset yet.
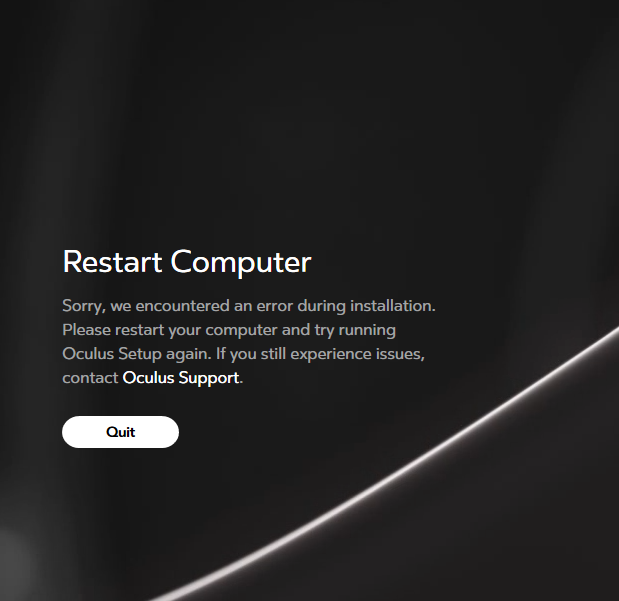
a major tech company, … the Oculus VR headset installer.
______________________________________________________________________________
Detach your ethernet cable and shut down power (detach the AC cord).
______________________________________________________________________________
Install any PCIe USB card, reattach the power cord, reboot and install any particular drivers for it from your 2nd thumb drive
Detach the power cord. Install your sound card (if using one) in the PCIe slot, reattach the power cord, reboot and install with the correct drivers from your 2nd thumb drive (the Windows 10, 1803 patch will screw up most Creative and ASUS sound cards, so we don’t want Windows Update to force incorrect drivers on your card.)
Install any other PCIe cards,backup hard drives, etc … with their appropriate driver
Attach any SATA devices to your motherboard including any DVD/Blu Ray drive
______________________________________________________________________________
Reattach your ethernet cable
(Yes, I know, …. this is getting $#%#$@! tiring ….)
______________________________________________________________________________
Check Windows Update again.
Using your web browser, find the correct drivers and install the following:
(Install the driver and then plug in the device and then reboot. This makes sure that Windows Update cannot grab the incorrect driver for your peripherals.)
Any SSD software (like Samsung Magician)
Any and all motherboard utility software (BIOS updaters, App Centers, Easy Tuners, USB Turbo Chargers, Aura, RGB Fusion, etc …)(Only install what you will really use. You do not want 10 processes running in the background you have no need for.)
Any gaming keyboard
Any gaming mouse
Any webcams
Any special microphones
Track IR
Printers
Joysticks
Any other peripherals
______________________________________________________________________________
Begin installing all of your software. For a home build, I use Ninite (a package manager) to batch install most of the common software I need quickly.
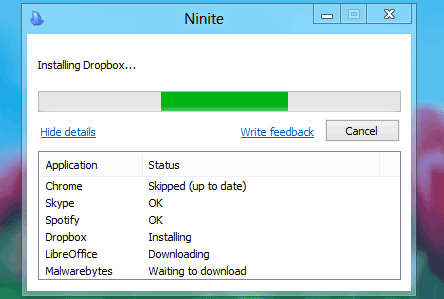
(Ninite will grab Firefox, LibreOffice, Open Office, Revo Uninstaller, VLC, Skype, Zoom, 7-Zip, etc…. And you can decide which packages you want.)
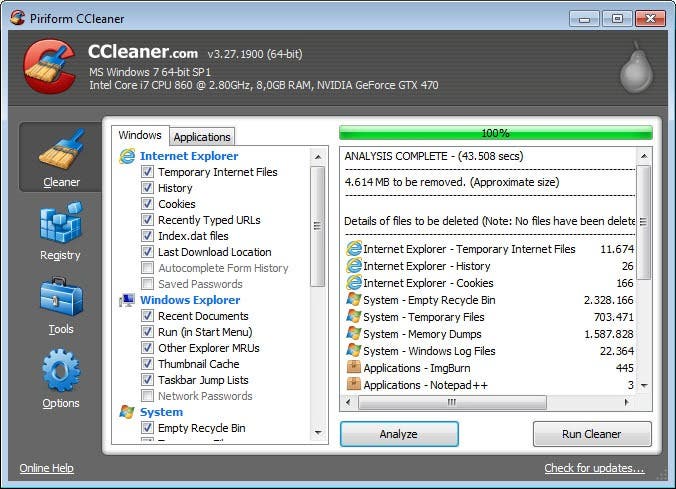
Crap Cleaner is wonderful software for helping to tame all the Windows junk. (but don’t run it yet)
If you are using a Blu Ray drive, grab the only true free Blu Ray player, Leawo Blu Ray Player
DriveBooster will help to keep your drivers up to date.
NordVPN is a good choice if you don’t want to be tracked on your front end.
Download all the other programs you need for your own setup.
Grab all of your monitoring and overclocking software – CPU-Z, GPU-Z, HWInfo, Core Temp, Prime 95, EVGA Precision, RivaTuner, AfterBurner, etc….
______________________________________________________________________________
Install Steam
Install Steam VR from within Steam
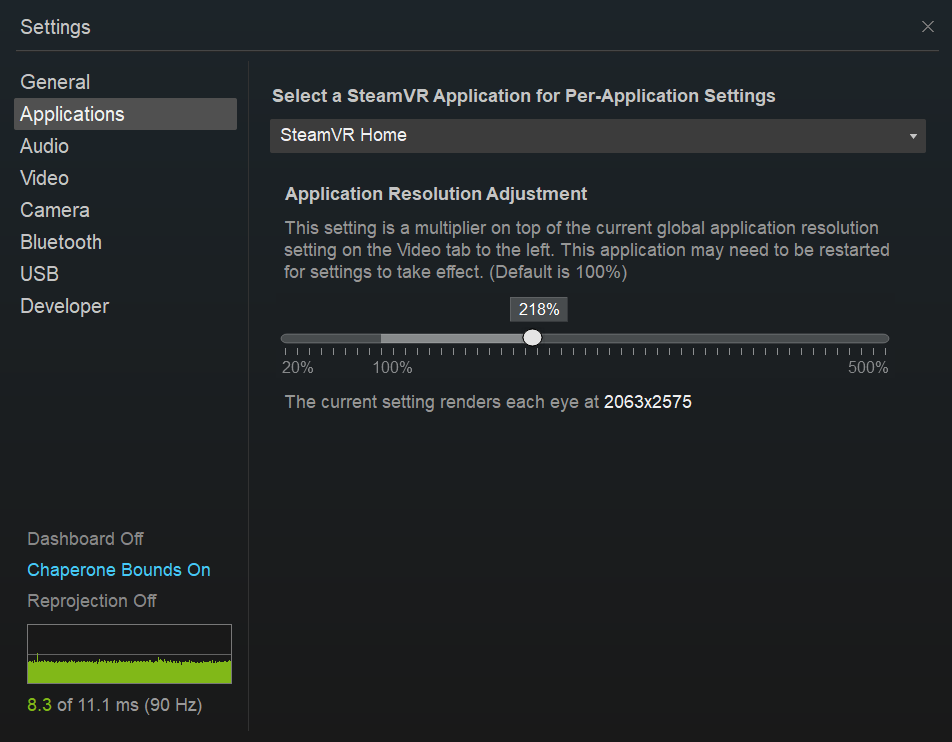
Install your Valve VR headset
Install all Steam games
Install all other games
(I install all Steam games and all other games to a separate NVMe D drive. I highly recommend it to all that can afford two 500 GB or greater NVMe SSD drives.)
______________________________________________________________________________
Optional:
Install Antivirus (I used to favor BitDefender Free)
Install a software Firewall (I often used Comodo Firewall Free)
Around late 2018, I began to no longer install any antivirus or firewall because of the increasing reliability of Windows Defender (which is built into Windows 10). After 18 months, I have had zero intrusions or infections, but then I also do not buy TOW missiles on the black market either. YMMV. Antivirus and Firewall apps can be extremely intrusive, block needed programs and suck system resources, so you must weigh the advantages vs the disadvantages.
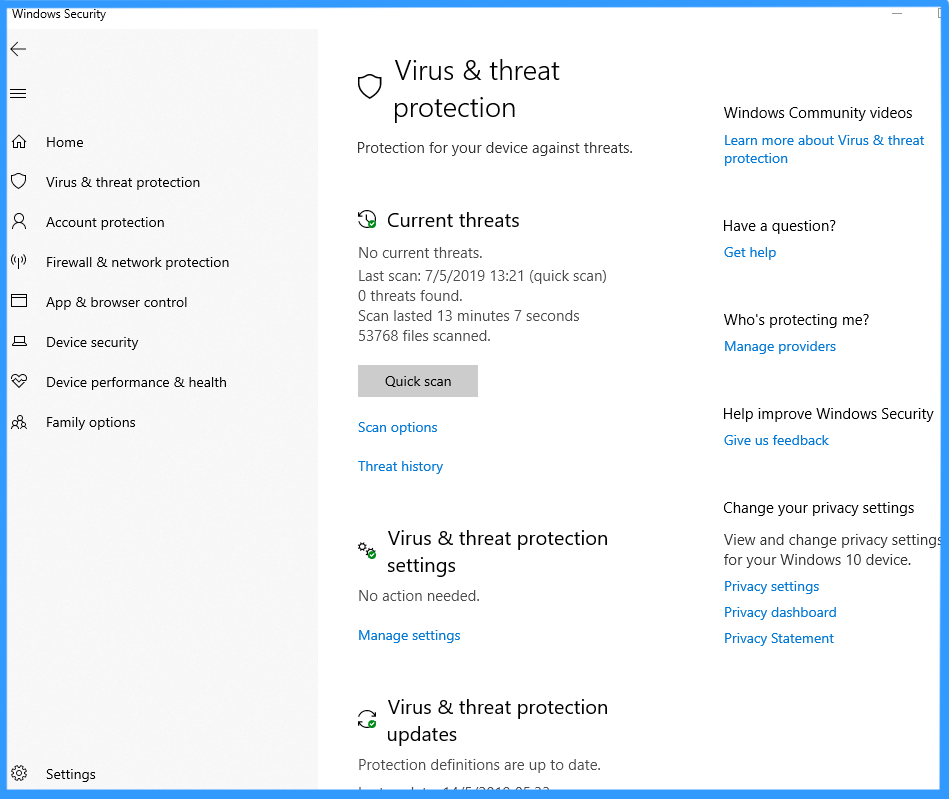
for most home users not visiting the darknet to trade in anti-tank missiles.
______________________________________________________________________________
Hit Ctrl + Alt + Del and bring up the Task Manager. Head to the Startup tab and disable any processes that are needed.
______________________________________________________________________________
Clone your entire C drive.
After everything is finally loaded, the most important step is to use an imaging software (like Acronis) to make a one to one clone of your C drive, to another outside backup drive. By having this backup cloned image, you can reload it in minutes if your system heads to the shitter. I recommend making a exact clone about once a week if using a gaming system. If your rig is mission critical or used for work, I recommend daily backup. I do not use the many Windows 10 back up features because they tend to screw things up when everything is reloaded. An exact one to one clone by someone like Acronis is the fastest and most secure method for the simple home user to recover from some major screw up.
______________________________________________________________________________
Use software like Crap Cleaner and Revo Uninstaller to remove any unintended bloatware (Candy Crush, …. f#$@ you little pink unicorns 🙂 )
Use the Windows 10 built in Disk Cleanup tool to keep your system tidy. The Group Policy Editor can also be a powerful tool to keep all the Windows junk and temp files from piling up.
______________________________________________________________________________
As a final step, fine tune and then overclock everything at your leisure. You should be getting 100% performance out of your processor, RAM and graphics card.
If you take care to follow the above steps, you will have a clean Windows install that will purr along for years.
Jay
The beauty of the Multiverse can best be appreciated by learning the language that Mother Nature truly speaks in, …. mathematics.